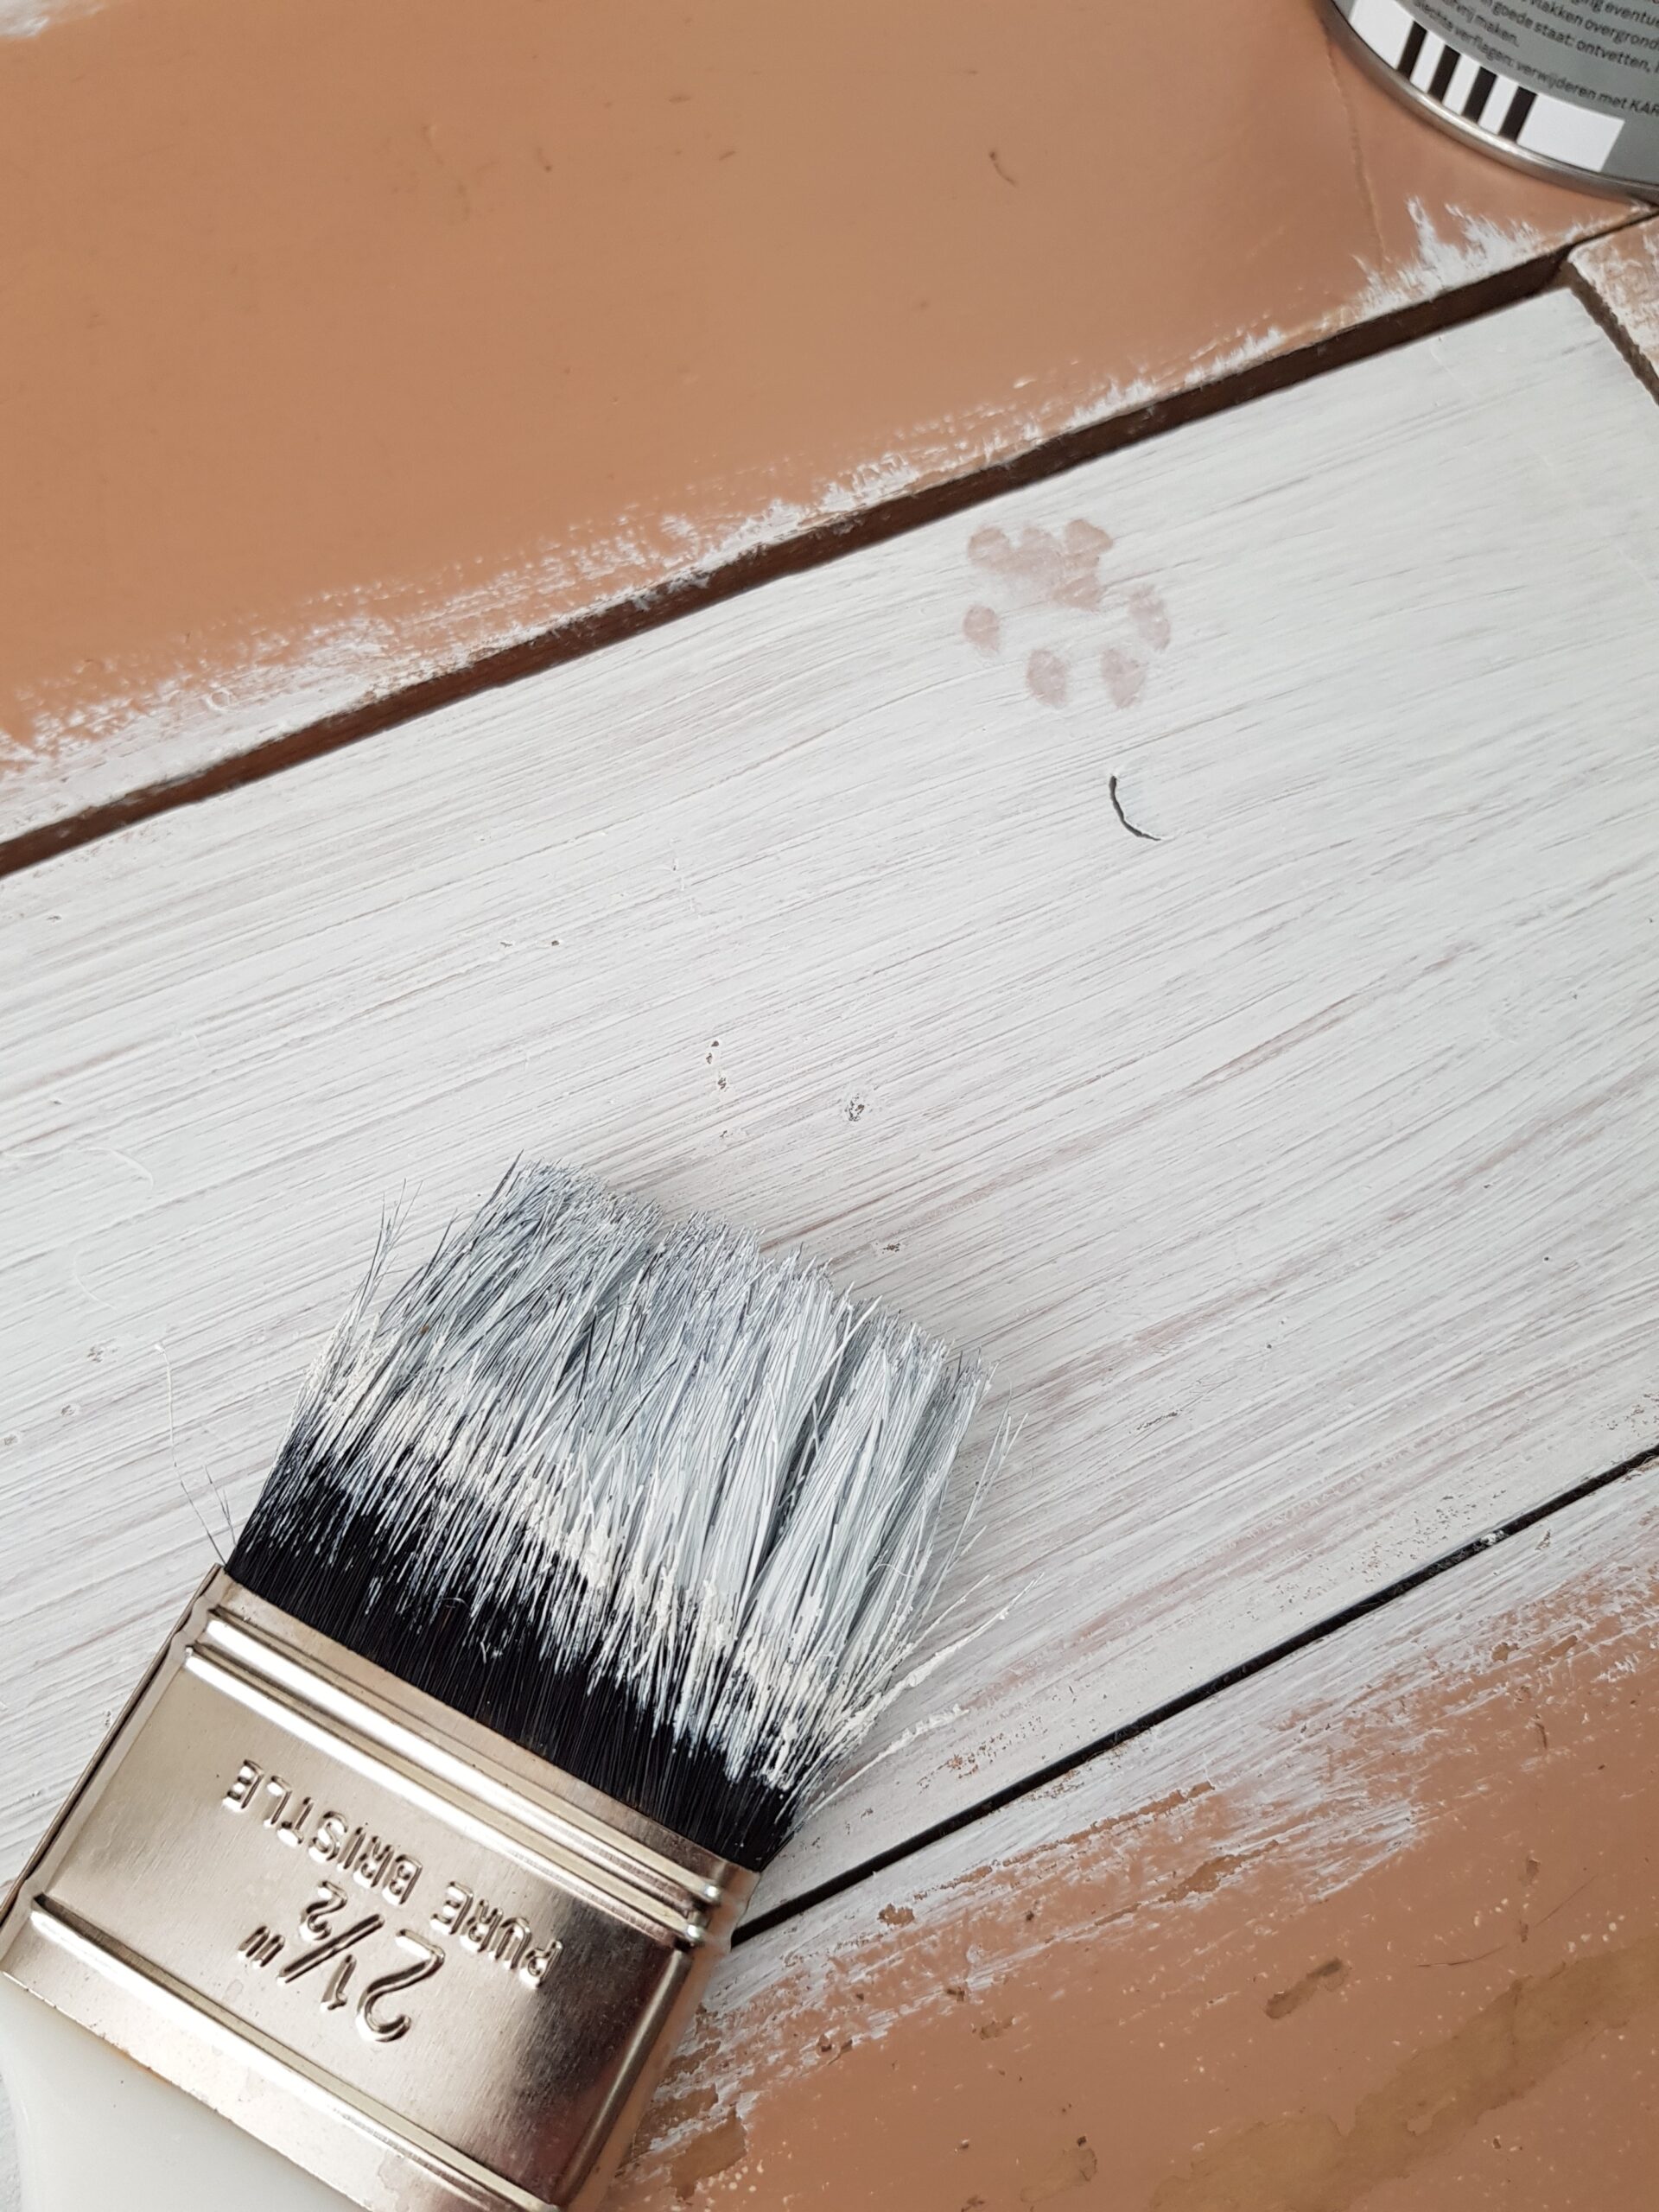
Painting outdoor furniture is a fantastic way to refresh your space and breathe new life into weathered pieces. However, to achieve a professional, long-lasting finish, prep is key. Cleaning and priming outdoor furniture properly ensures that the paint adheres well and resists peeling, cracking, and weather damage. This guide walks you through the essential steps to clean and prime outdoor furniture surfaces for painting success.
Step 1: Gather Your Tools and Materials
Before diving in, ensure you have everything you need:
Tools and Supplies:
- Bucket and warm water
- Prep Clean
- Scrubbing brushes (soft and stiff bristles)
- Sandpaper (medium and fine grit) or a sanding block
- Scotch Brite Pads
- Tack cloths
- Masking tape
- Drop cloth or tarp
- Primer
- Safety gear: gloves, mask, and safety glasses
Step 2: Cleaning the Furniture
Why Cleaning is Crucial:
Outdoor furniture is exposed to dirt, grime, mildew, and other contaminants that can prevent paint from adhering properly. A thorough cleaning ensures a smooth surface for priming and painting.
Steps to Clean Your Furniture:
- Dust and Debris Removal:
Start by brushing off loose dirt, leaves, and cobwebs using a dry brush or cloth. - Wash with Detergent:
Mix warm water with mild detergent or a cleaning solution. Use a scrub brush to clean the entire surface, focusing on crevices and textured areas. - Wipe with Prep Clean:
For grease, sap, or mildew, use a stronger cleaning agent like prep clean. - Rinse Thoroughly:
Rinse the furniture with clean water to remove all soap and residue. - Dry Completely:
Allow the furniture to air dry completely before moving to the next step. Moisture trapped under the primer or paint can lead to bubbling and peeling.
Step 3: Address Specific Material Needs
Different furniture materials require tailored cleaning approaches:
- Wood: Remove algae or moss with a stiff brush and a wood-safe cleaner. Avoid pressure washing, as it may damage softer woods. If you have untreated wood you would want to first use a wood sealant.
- Non-ferrous Metal: Such as aluminium or copper (metals that do not contain iron). Use a wire brush or a scotch brite pad to remove rust, flaking paint, or corrosion. Sand smooth for an even surface. Apply a coat of etch primer if it is bare metal.
- Ferrous Metal: Such as steel (any metal that contains iron). Use a wire brush or a scotch brite pad to remove rust, flaking paint, or corrosion. Sand smooth for an even surface. Apply a coat of primer.
- Plastic or Resin: Use prep clean to remove oils and wipe with a clean cloth. Sand lightly to create a surface that paint can grip. Use an Adhesion Promoter before paint application.
- Wicker: Clean thoroughly with a brush and soapy water. Allow extra time for drying, as moisture can hide in the crevices.
Step 4: Sanding the Surface
Why Sanding is Important:
Sanding smooths rough areas, removes old paint or rust, and provides a slightly textured surface that allows primer and paint to bond effectively.
How to Sand Your Furniture:
- Start with Medium Grit:
Use between 80-240 grit sandpaper to remove old paint or rough edges. For metals, sanding also helps eliminate any rust remnants. - Smooth with Fine Grit:
Follow up with 600-800 grit sandpaper to create a uniform, smooth surface. - Clean Again:
Wipe the furniture with a damp cloth or tack cloth to remove dust and debris after sanding.
Step 5: Priming the Furniture
Why Primer is Essential:
Primer creates a barrier between the furniture surface and the paint, enhancing adhesion and durability. It also prevents stains or previous colours from bleeding through.
Choosing the Right Primer:
Select a primer suited to your furniture material:
- Wood: Use a sealant if untreated, then use a filler primer.
- Bare Metal: Opt for an etch primer for non-ferrous metals, then use a filler primer. Use a filler primer for ferrous metals.
- Pre-painted Metal: Use a filler primer.
- Plastic: Use adhesion promoter, then filler primer.
How to Apply Primer:
- Protect Surroundings:
Lay a drop cloth or tarp to protect the area around your workspace. Use masking tape to cover areas you don’t want to paint. - Apply an even coat:
Use a brush or spray primer to apply an even coat. For intricate details, aerosol is sometimes easier. - Allow Drying Time:
Refer to specific primer for drying time. - Sand:
Lightly sand the primed surface with fine-grit sandpaper once it’s dry, and then wipe clean ready for top coat.
Final Tips for Success
- Work in Ideal Conditions: Avoid painting on humid, windy, or rainy days, as these can affect primer and paint application.
- Inspect Your Surface: Ensure the primer is smooth, clean, and fully dry before applying paint.
- Use Quality Materials: High-quality primer and paint will save you time and effort while providing a durable finish.
By investing time in proper cleaning and priming, you’ll set the stage for a flawless and long-lasting paint job. Whether you’re revamping weathered patio chairs or giving a fresh look to an outdoor table, these prep steps are your key to success. With a clean, primed surface, your outdoor furniture will not only look stunning but also withstand the elements for years to come.


